KerfMaker 1.2.5 Released

KerfMaker 1.2.5 was released on 7/5/2020. This version fixes a problem that may affect a few people. If your app crashed while you were using version 1.2.3, the saved data could be corrupted so that the app might crash after the corrupted data was read back in, either in 1.2.3 or in 1.2.4. The particular scenario causing this problem is detected and fixed automatically in 1.2.5 when reading the data in. So hopefully we will be crash free going forward!

If you ever experience a crash or other problem, please let me know through this web site! That will help me improve KerfMaker and make it a better app for you.

KerfMaker 1.2.4 Released

KerfMaker version 1.2.4 was released today on the App Store. This version includes some features for new users as well as a number of bug fixes.

New users are sometimes confused by the way KerfMaker handles kerf widths. KerfMaker always adds a kerf width to every edge of every part, which means that a part will not fit into a board if it has the same width or length. For example, a part that is 4” wide needs a board of minimum width 4 1/4” to fit (assuming default kerf width of 1/8”).

KerfMaker now looks to see if any parts that did not fit were the same width or length as any available board. If so, it pops up an alert explaining why the part failed to fit. The alert can be dismissed or permanently suppressed (though the user can reactivate it from the Boards tab menu).

In addition to the alert, there’s a new example called “Example Kerf Usage” that shows several parts in a board with 1” kerfs. The Board view should make it obvious how the kerfs are being used.

Two bugs were fixed that sometimes caused crashes:

  • when taking a photo for a project

  • sometimes when loading a board on app restart

Some other fixes include:

  • Remember selected project on app restart

  • Refresh part placement when kerf width is changed

  • Refresh project name display after editing

  • Fix table background that was incorrect in some cases

Please let me know how the app is working for you. I really appreciate your feedback!

What, me? Classes?

Planes.jpg

I’m a self-taught woodworker. That's partly because I enjoy learning from books and videos, but also because of the cost and time involved in taking a class. In addition, I’ve had a couple of bad experiences with classes: one class on finishing that I took, for example, was a waste of time because a student sidetracked it with irrelevant questions (the teacher shouldn’t have let that happen).

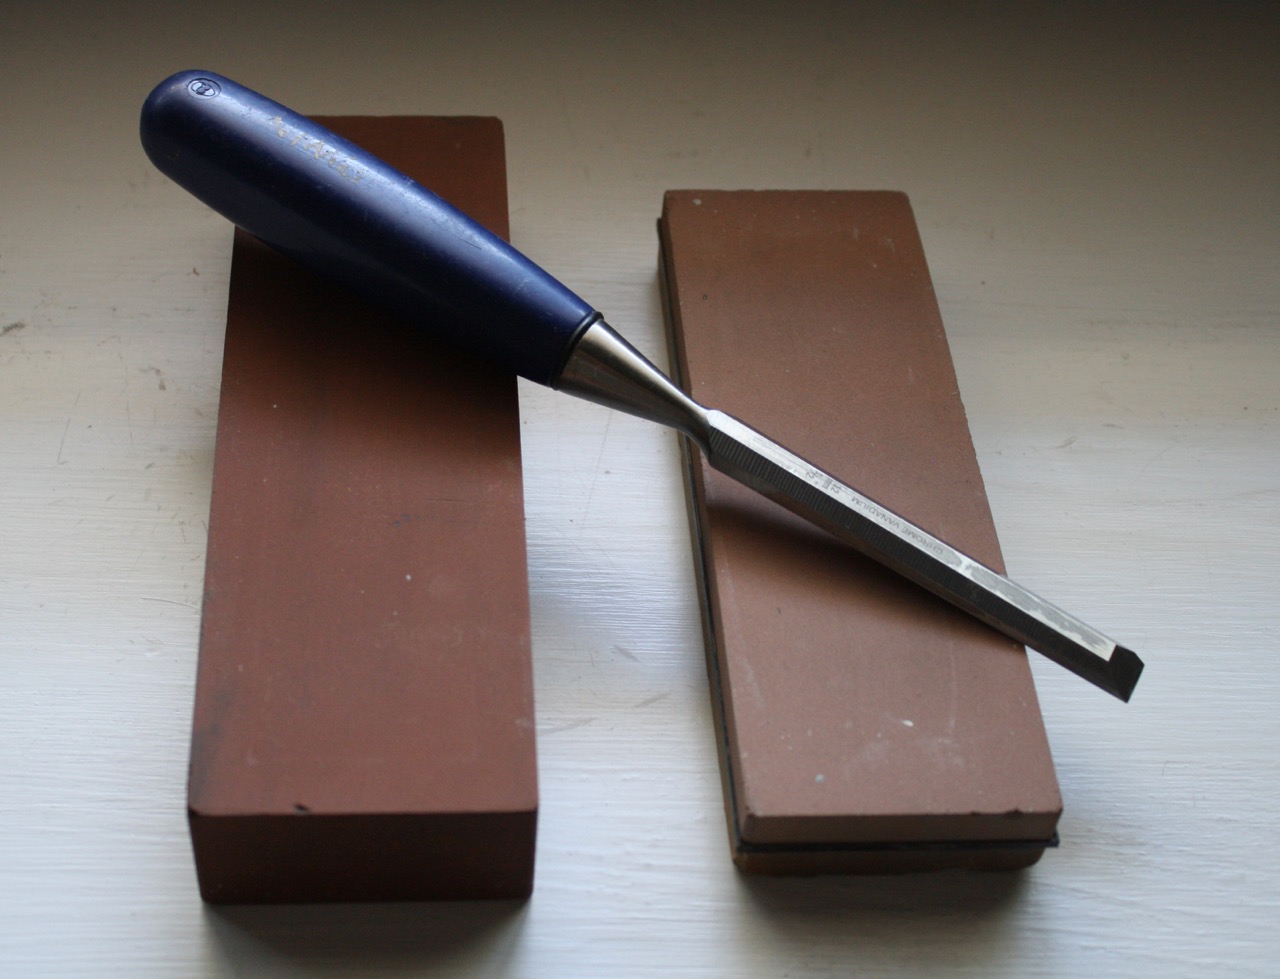
Recently I’ve realized that taking classes in-person is extremely valuable. What changed my mind was a half-day class on sharpening taught by Doug Forsha at the Southwest School of Woodworking in Phoenix. Doug is a professional woodworker who owns a living making custom furnitures, so he has lots of practical experience. He knows how to work quickly and effectively since his livelihood depends on it. He is a good communicator with an excellent balance of theory and practice. During the class I sharpened a couple of my own planes and chisels using his methods and had a real “aha” moment about sharpening that will make my future woodworking more effective and enjoyable. Now I wish I had taken more classes earlier.

Should you consider taking a class? Yes! Here are several reasons why: 

  • You’ll learn a lot faster because you'll get direct feedback on what you’re doing right and wrong.
  • You’ll learn how to achieve better quality and work faster.
  • Woodworking will be more enjoyable because you’ll achieve success more easily.
  • You’ll take your skills to the next level.
  • You’ll be able to connect to other woodworkers
  • A class will spark new project ideas.

It may take some work to find a class that will benefit you. If you’re going to devote time and money to a class then you want to make sure you have the right instructor in the right setting. Some things to look for in a teacher include:

  • real-life woodworking experience
  • ability to communicate well and give good feedback
  • classroom management skills

You should look for a class with a good enough student/teacher ratio and well equipped workshop so that you can do lots of hands-on work.

If at all possible take a “test class”, i.e., a short class that will give you a feel for what a particular teacher and school is like. But by all means take a class and take your woodworking to the next level!

ChiselsAndStones.jpg

Make Portable Structures Using Simple Hardware

Phoenix Flea

My daughter and her husband have an import business selling beautiful rugs and pillows from Morocco and other countries. They wanted to show their products at a recent weekend market in Phoenix so they needed structures to display them. My daughter sent me a Sketchup design that threw down the challenge: build an interconnected set of frames 8’ high on which to hang about 15 heavy rugs and make two display cases that would hold about 12 pillows and other items. It had to look good, be portable, be inexpensive, be buildable on my outside patio (I’ve just moved and don’t have a workshop yet) and be ready in 3 weeks.

A couple of hardware choices and a lot of thought about design made for a successful project.


Removable-pin Hinges

The rug display frame was made of 6 panels connected by hinges with removable pins. The hinges made it possible to position the panels simultaneously for visual appeal and stability. When the hinge pins are removed the frame can be easily disassembled for transport and assembly.

Hinges with removable pins are useful because they can be very strong and yet be taken apart.

There are a number of things to consider when using hinges as structural components:

  • The hinge will provide rigidity along the axis of the pin but not perpendicular to its axis; you will need to design your structure so that other components set how far the hinge is open
  • Hinges can be ugly, so think about how to hide them or integrate them into the design
  • If you have multiple components in your structure (here we had 6 panels in the frame), systematically offset one of the hinges on each component to make it so your structure can only be assembled in the correct way
  • Install the hinges right side up, or the pins might fall out at the worst time!
Hinges.jpg


Nut Inserts

Our two display cases were made of 1/2” Baltic Birch plywood in order to get the right look. The front and sides were connected by removable-pin hinges but the plywood sides and shelves were joined using nut inserts, Allen-head connecting bolts, and cleats. The nut inserts made it possible to assemble tight, rigid display cases at the show and then disassemble them later.

Nut inserts work best when threaded into solid wood, so cleats were glued and screwed to the display case top and bottom shelves to receive the inserts. Then Allen-head connecting bolts went through holes in the mating plywood pieces into the inserts. Joints made in this way are useful because they can be disassembled and are unobtrusive.

Use of nut inserts requires consideration of several things:

  • The hole for the connecting bolt should be drilled first through both joining pieces for good alignment, then the bolt hole can be used as a pilot for a larger hole to be drilled for the insert
  • You should screw in the insert slowly and carefully (probably by hand rather than with a driver) - it needs to go in straight or you won’t get a good connection.
  • Nut inserts have limited strength, especially in soft wood, so use them where there will not be significant off-axis stresses
  • If you plan to use an Allen head connecting bolt, consider the clearance and whether there’s enough room to use an Allen wrench


BoltsAndInserts.jpg


Make your own!

Both the rug frames and the display cases were finished on time and contributed to a successful showing at Phoenix Flea. Hopefully these simple hardware ideas will be useful to you when you need to make a structure that can be easily taken apart.